Character Rigging

Objective:
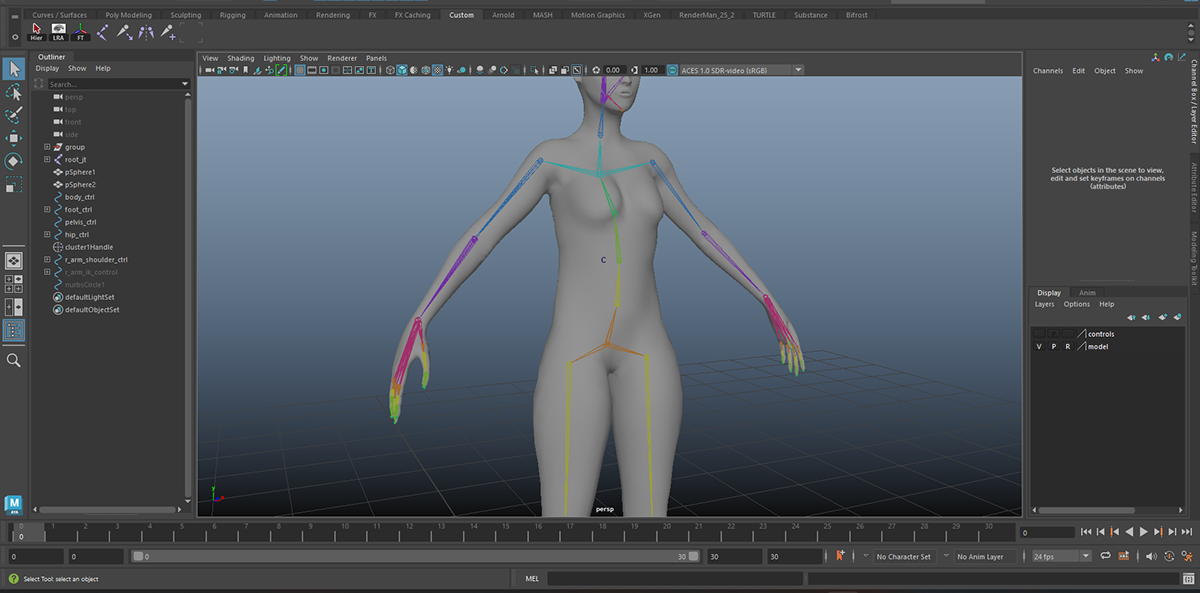
To make the 3D character model move and perform actions, I'm rigging it.
Techniques used:
Bone setup
Skinning
Control setup
Custom attributes
Challenges:
IK FK Switch
Making the character's skin look natural around the shoulders, elbows, knees, ankles, and thighs is a challenge. It's a bit tricky to ensure that these parts move realistically, creating the illusion of lifelike motion. Adjusting the digital skin in these specific areas requires careful attention to detail and skill in the process.

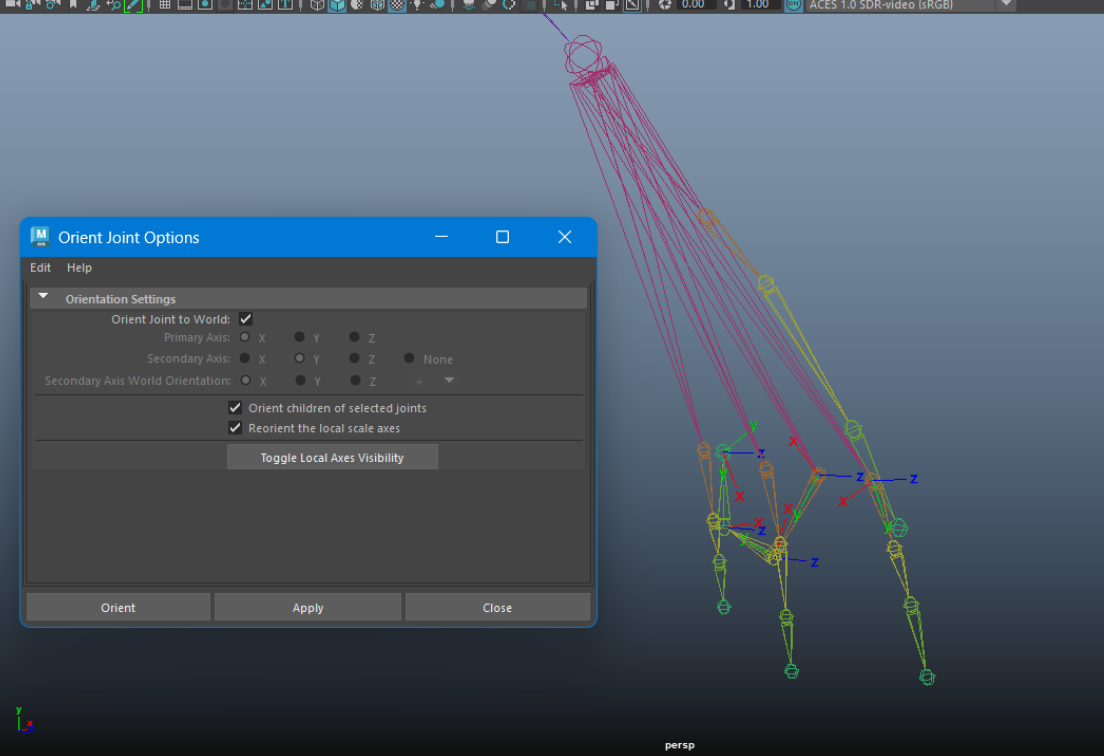
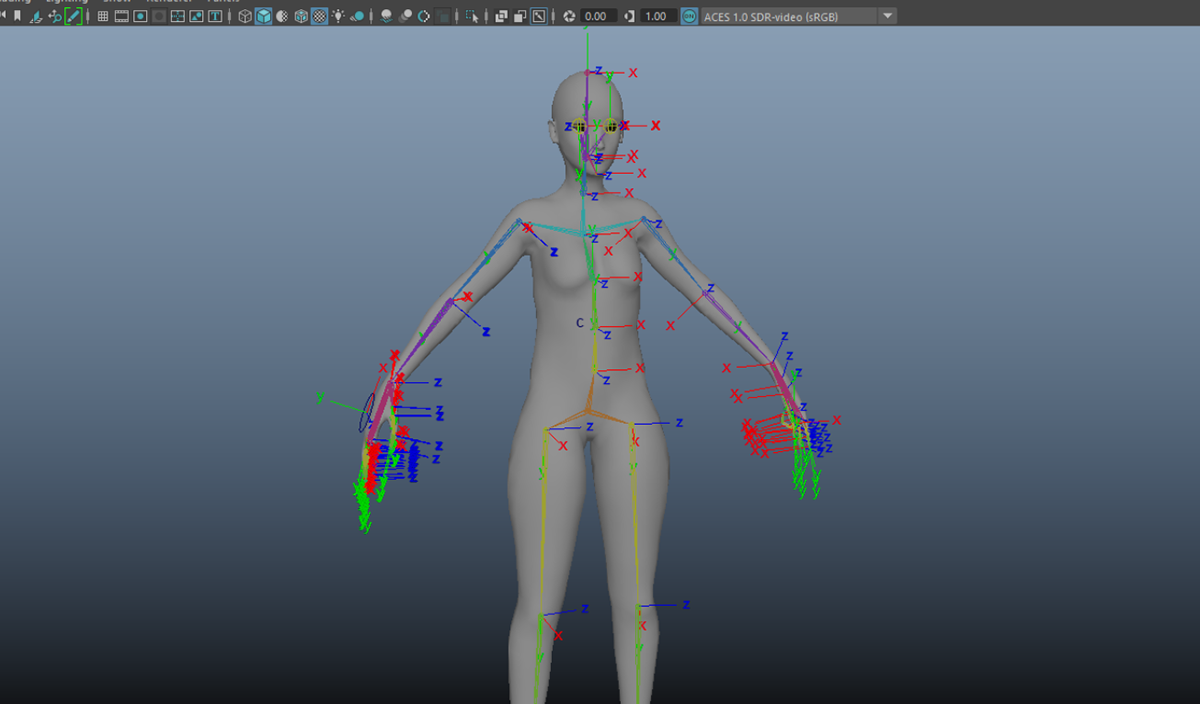
I checked the direction each joint was facing individually by using the Local Rotational Axis.
Setting the correct orientation for each joint is crucial. It makes it easier to control and rotate the joints accurately. This ensures that the movements of the digital character are more precise and align with the intended animation. The proper alignment of joints is key to achieving realistic and natural motions in the character's movements.
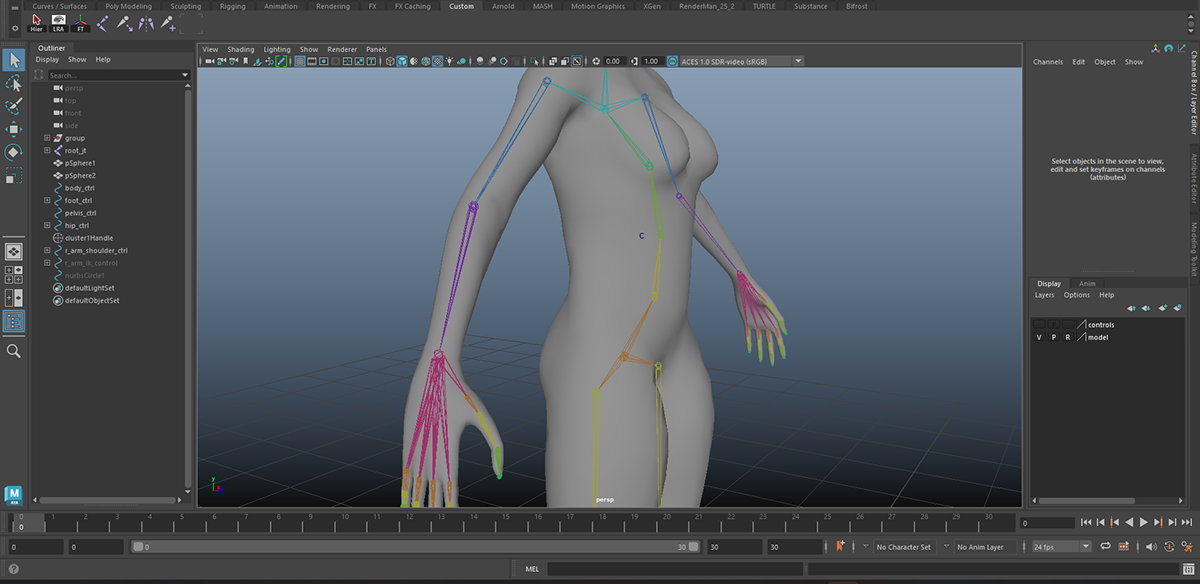
I set up the controls for the torso. The challenging part is the Pelvis Control, which acts as a pivot at the Abdomen Joint. The Pelvis Control's position aligns with the Pelvis joint, connected through Parent Constraint. This ensures the realistic movement of the human pelvis. Each control, like the Abdomen Ctrl, is linked to its corresponding joint using Parent Constraint, allowing smooth and coordinated movement.

To create foot controls, I group IKs, adjust pivots, and add custom attributes with specific ranges. Connecting these attributes through the Connection Editor ensures smooth control, simplifying foot manipulation for animators

Creating the arm rig is a big challenge because I need both IK (Inverse Kinematics) and FK (Forward Kinematics) controls. I started by making joints for the arm and duplicated them up to the wrist joint. These joints are organized into layers: main joints, IK joints, and FK joints for the shoulder, elbow, and wrist.
The idea is to control the main joints using either the IK or FK joints. So, I established FK controls for FK joints and IK controls for IK joints. This setup allows for flexible and realistic arm movement in animation.

First, I chose the Wrist IK, Wrist FK, and Wrist main joint, then applied Orient Constraint. I did the same for the elbow and shoulder. This made the main joint stay in the middle when either FK or IK is moved.
To switch between FK and IK, I created a control curve and added a custom attribute for both. Using the Connection Editor, I connected the IKs and FKs. This way, animators can smoothly switch between the two methods, giving them flexibility and control over the character's movements in the animation process.

I used the Joint Hierarchy skin binding mode to connect the skin to the model. With Paint Skin Weights, I carefully adjusted the influence of each joint on the model's vertices. This manual adjustment ensures a proper rig, allowing the model to move realistically and smoothly in animations.


